
API Key Management
Create and secure additional API keys
| Requirements: any paid Subscription |
Also see:
Add a Mapbox Token to your Bullseye Account
When a Bullseye account is created, we create 2 default API keys for search and admin functionality. Bullseye uses these API keys to display maps in the Admin and interfaces, and various other core services. These keys can not be modified or deleted, but accounts can create additional keys and secure them with restrictions to protect them from unauthorized usage. This is useful for clients that use the Bullseye API for building their own locator solutions because customized keys can be created that grant access to the specific services needed for a specific solution, without compromising security by granting access to unnecessary services. The following types of restrictions can be configured:
- HTTP referrers and/or IP addresses - Keys can be restricted to specific websites or IP addresses. When this type of restriction is configured, the API key is only valid when used from the websites or IP addresses that are configured, and cannot be used anywhere else.
- API services - Keys can be further restricted to allow only the API services required for the functionality required. When this kind of restriction is configured, the API key is only valid for the services that the key has been restricted to, and can’t be used for any other functionality. Bullseye has the following services that use API keys to function:
- RestEvent.svc
- RestLead.svc
- RestReports.svc
- RestTerritory.svc
- RestEventSearch.svc
- RestLocation.svc
- RestSearch.svc
- RestUser.svc
- API methods - Within each service, keys can be restricted to the specific API methods/functions necessary for the functionality required. By default a key has all functionality available to the governing service and no restrictions are enabled. Enable restrictions by enabling the checkbox next to the listed functions. When this kind of restriction is configured, the API key is only valid for the specific function that the key has been restricted to - in other words, the functions that are checked off.
Please visit our Developer Hub for more information about the various services available.
To configure a new API key, go to Settings > Security, and click on the API Keys tab. You’ll see the following screen:
 Click on a Show Restrictions link next to a service name to expand the panel that lists the methods available to that service:
Name your key and enter an optional description.
You can add both IP address restrictions and HTTP referrer restrictions as necessary. To add IP restrictions, enter a valid IP address and click the Add button. To add HTTP restrictions, enter any website URL and click the Add button. You can add as many IP addresses or HTTP Referrers as necessary using the Add button.
Optionally further restrict the key to only the services it will be used for. By default, new keys are created with all services enabled. Simply uncheck any services that won’t be used to disable them.
Optionally, further restrict the key to only the functions within each service that are necessary for the required functionality. By default, keys have access to all available services, and all functions available to each service. By default, there are no restrictions selected within any service. Within each service, select any functions that you want to restrict the key to. When restrictions are selected, the key can only use the functions selected within each service.
To disable all functions within a service, deselect the governing service.
When you’re done click the Save or Save and Close button. The API key is now ready to be used with the Bullseye API.
Once the key is in use, you can review its usage in the Web Service Calls report at Reports > Web Service Calls:
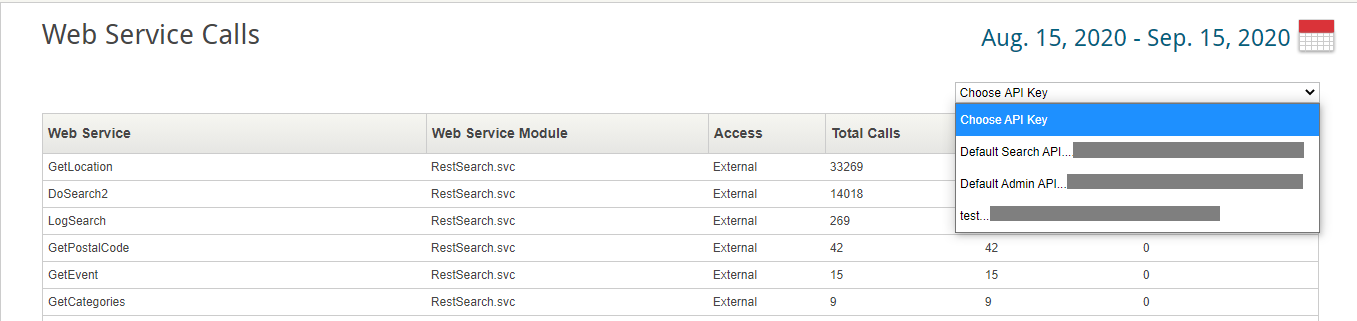
Use the “Choose API Key” dropdown filter to limit statistics to the desired API key.