
Using the Bulk Update tool for Categories and Attributes
Update multiple category assignments or a single attribute value for a list of locations.
| Requirements: Any paid Subscription |
Also See:
How to Create and Modify Categories
Admins can select whether to add or remove assignments from categories, or change an attribute value, and apply those changes to a list of locations. Bullseye logs all changes, capturing the list of locations, the user that made changes, and the date/time the changes were made.
To get started, navigate to Settings > Tools. Click on the Bulk Update button

On the Bulk Update page, select from the drop down whether you want to update Categories or Attributes.

Updating Categories
Selecting categories displays the following screen where you can select whether to add or remove assignment of selected categories from an inputted list of locations identified by LocationID or ThirdPartyID. 
Follow these steps:
- Select Add Selected Category Assignment or Remove Selected Category Assignment
- Select the categories or subcategories to assign. Click on the + sign next to a category to expand the selection and view and select subcategories.
Note: If you select a category that has subcategories selected, you’ll see a popup asking if you want to assign all the subcategories too: 
Select Select All to assign the subcategories, or No to select only the parent category. You can selectively select subcategories if desired.
- Select LocationID or ThirdPartyID as the means to match existing locations
- Type or paste a list of LocationIDs or ThirdPartyIDs (depending on what you selected in the previous step) into the Enter Locations text box
- Click the Update button
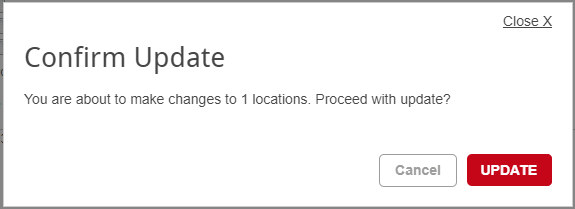
- Confirm your changes by clicking the Update button in the popup
Updating Attributes
Updating attributes works similarly, although you can only update one attribute at a time. Selecting attributes from the Bulk Updates page displays the following screen. It will differ slightly depending on the type of attributes you have configured.

Follow these steps:
- Select an attribute from the drop down. The screen will change to show the attribute type, and the available attribute values if applicable.
- Input or select the desired values for the attribute.
- Select LocationID or ThirdPartyID as the means to match existing locations
- Type or paste a comma-separated list of LocationIDs or ThirdPartyIDs (depending on what you selected in the previous step) into the Enter Locations text box
- Click the Update button
- Confirm your changes by clicking the Update button in the popup