
Add Leads Manually via the Bullseye Admin
How to add leads one at a time using the Bullseye Admin.
| Requirements: Available in Connect and Optimize subscriptions, and as an add-on to the Find Subscription. |
Also See:
Configure Lead Manager Notifications
Sometimes you may need to add one or a few leads manually to your store locator. When there are not a lot of leads to add, it may be easier to type the information manually in our form than to upload a file with the changes. If you have a lot of leads to add, see Import Leads via .CSV.
To add leads one by one, simply login to the Bullseye admin and type in the lead information. You can follow these simple instructions:
Login to the admin and select Manage Leads > Add Leads. You will be taken to the Lead Details tab:
Personal Information
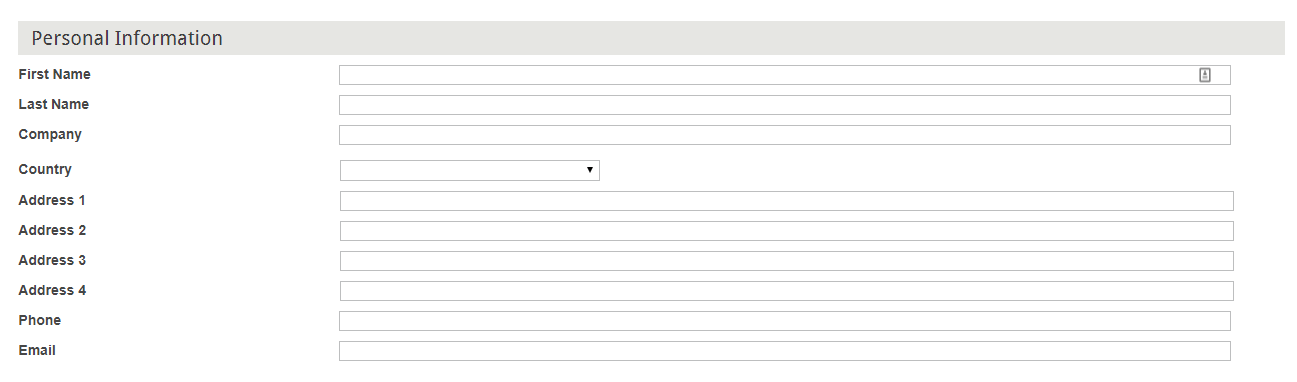
First Name: Enter the first name of the lead.
Last Name: Enter the last name of the lead
Company: Enter the company name of the lead
Country: Select the appropriate country from the drop down menu
Address 1-4: Enter the street address without including city/state/zip code. If you are using the standard Bullseye interfaces, only information in address 1 and 2 will be displayed in the search results. Address 1 should only include the building number/street. Mall or Plaza information should go in Address 2. Address 3 and 4 can be used if you have additional information and are developing a custom search interface.
Phone: Enter the lead’s phone number.
Email: Enter the lead’s email address.
Form Information
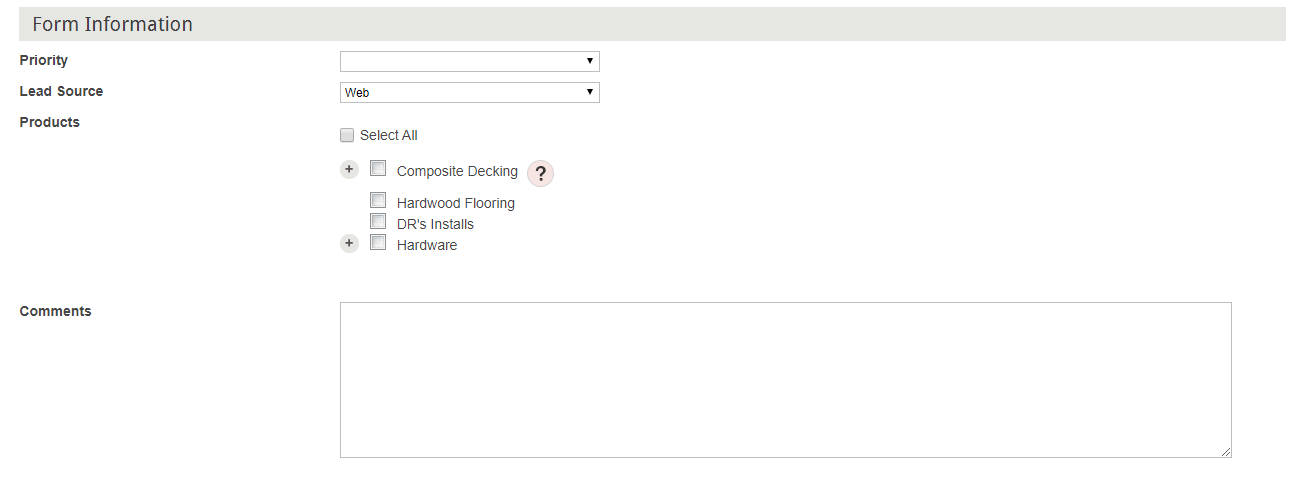
Priority: Select the lead’s priority from the drop-down. Avalable values are Lowest, Low, Medium, High, and Urgent.
Lead Source: If the lead belongs to a source you have created under Settings/Sources, select it from the drop-down.
Categories: If you have categories, you would have a checkbox for each category. Check off categories the lead has selected or that are related to the lead.
Comments: If you have notes for the lead, or comments by the lead, include that information in this field.
Additional Information
Bullseye allows you to create custom lead attributes if you need additional information displayed if our standard fields don't cover all the fields you need. To create custom attributes see Add Custom Attributes.Once your lead attributes are created, you will see them appear in the form:
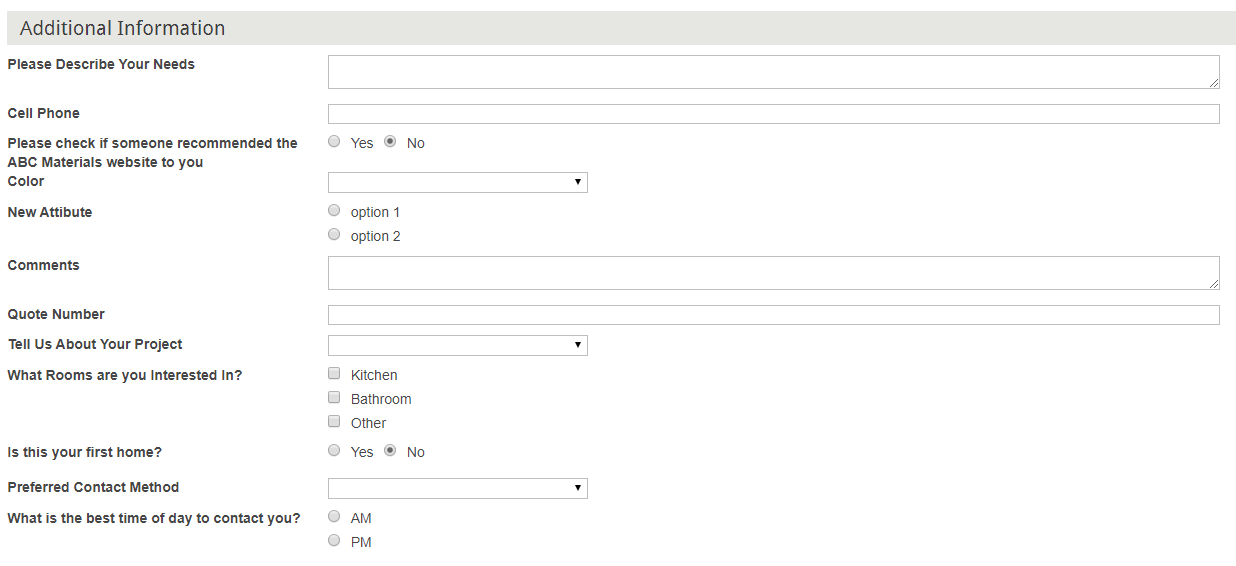
If you have set up custom attributes for additional information besides the standard fields, you would have a separate label and field for each attribute.
Email Preferences

Thank You email: Select “Yes” if you would like to send a thank you email to the lead.
Lead assignment email: Select “Yes” if you would like to send a “You’ve Got Leads” email to all routed locations.
Routing Options: Choose whether to manually assign locations to route New Lead emails to, or to automatically assign locations based on configured routing rules and options.
Manual Routing
With manual routing, you can assign leads to one or more of your locations. If you don’t have any locations, you will not be able to assign a lead and the lead will remain unassigned. If you have only one location, a lead will be assigned to that location automatically. If you have multiple locations, you’ll see this screen when you save the lead:
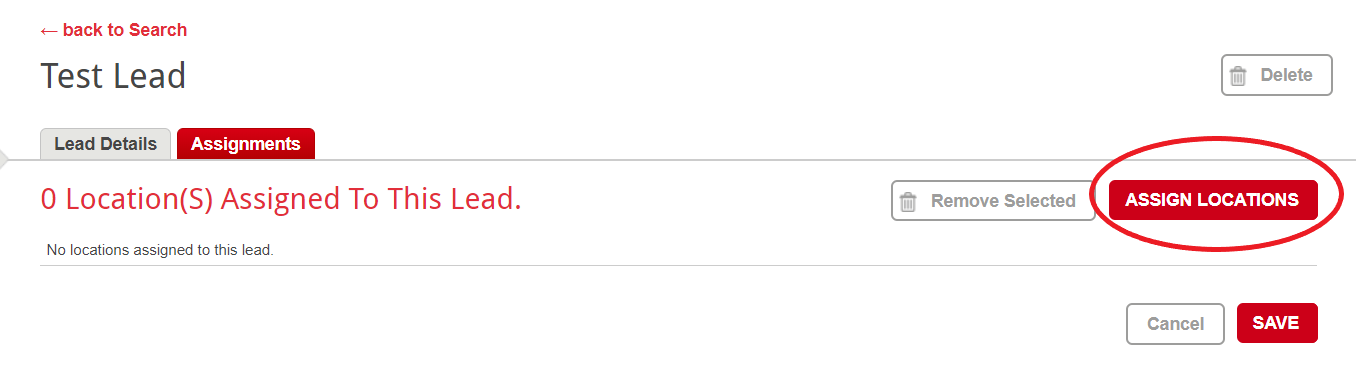
Click on Assign Locations to see a list of your locations:
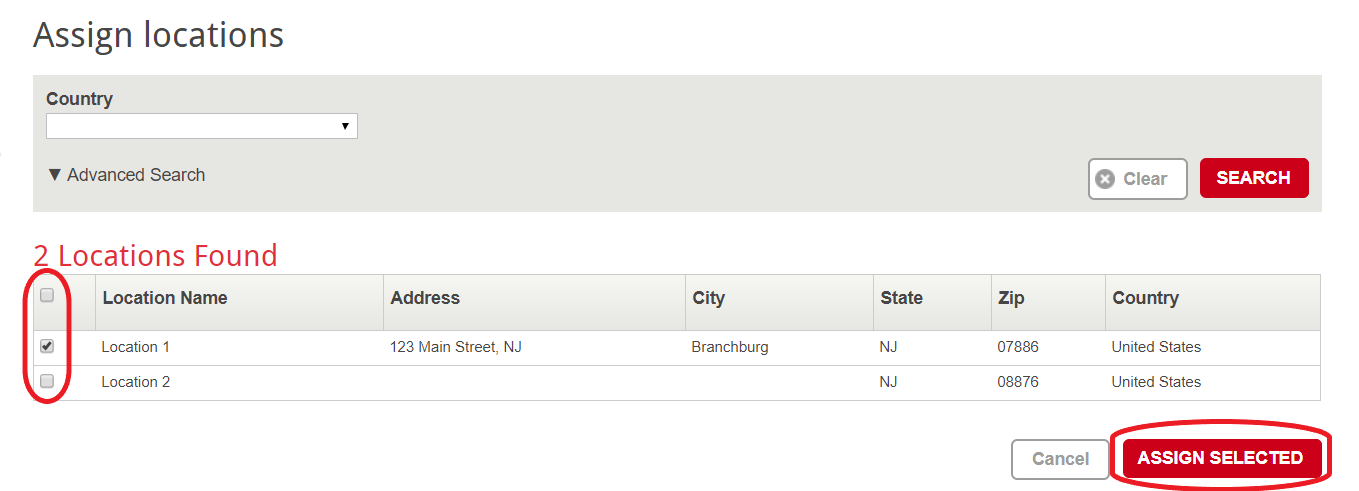
Select locations to assign the lead to, and click Assign Selected. If you’ve enabled New Lead emails, a New Lead email will be sent to the location, as well as any other roles you’ve configured routing for.